Most wargame rivers are little more than glorified streams. Consequently most wargame model bridges are not designed to span any significant gaps. This is something of a problem as I like having the third dimension play a role in my games, but movement in the upper reaches gets difficult without bridges and apart from mostly stationary snipers no one wants to climb to a higher position.
Then I spotted this MDF bridge model sold by Minibits. It was a bit plain even for a MDF kit, but it was finally reasonable size, the bridge is 47cm long. And the price was very attractive, so I promptly ordered one as a sample.
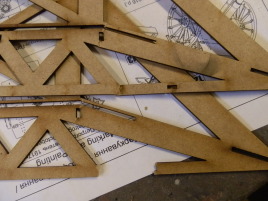
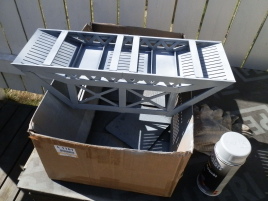
Unfortunately the bridge kit arrived slightly damaged. Fixing it was no big deal, but it did raise concerns about the durability in the long rung. The kit is cut from 2mm MDF and I feel some of the struts are awfully thin for this. This is especially true for the top struts, which have to bear the entire weight of the bridge when someone inevitably lifts the entire by grabbing them -- which I accidentally did myself several times during assembly.
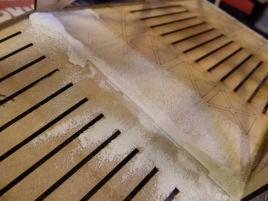
Other than that the basic assembly is pretty easy. The jigsaw joints where the angled bridge floor pieces meet can use some spackle or simply glueing on a strip of paper. I went with spackle but the paper would actually have been a better idea.
|
|
|
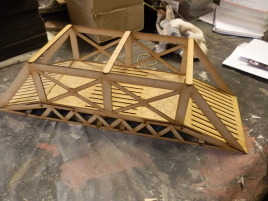
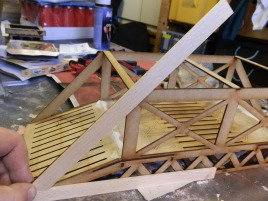
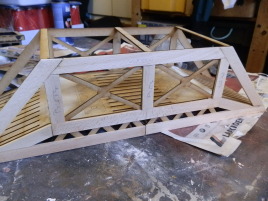
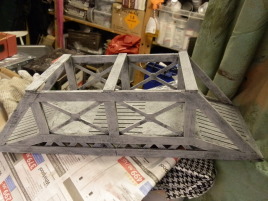
| There was some minor damage on the kit from shipping. | Filling in the joins. This is IMHO one of the biggest drawbacks of MDF construction. The jigsaw joints are really robust, but if you're doing something other than brickwork or maybe planks, you need to hide them somehow. | This is the basic kit assembled. |
|
||
| It's made from 2mm MDF and quite frankly some pieces are a bit fragile... |
After that the bridge is ready to be painted if you want to use the kit as is. However, in addition to my concerns about the durability, I felt the basic kit was a bit flat. As I also wanted to try out my new Dremel Moto-Saw, I decided to go to town with it.
I happen to have a pile of these sturdy wood strips sold by the local hardware store for next to nothing (they are sold as kindling of all things!) and they happened to almost exactly the same width as the wider spars on the bridge kit.
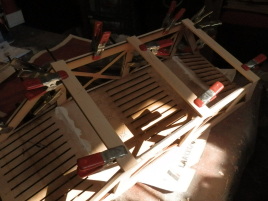
So I cut some reinforcing pieces with the Moto-Saw and glued them on. In addition to strengthening critical parts of the bridge, the additional parts add some depth to the otherwise flat sides.
I decided against adding bolt heads or other small parts, even though these would make for an even nicer kit. After all, this is for wargaming and not display. On to painting.
|
|
|
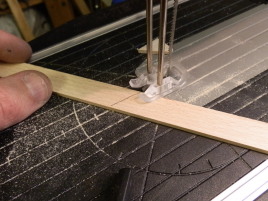
| Measuring the extra pieces. | And cutting... no, I'm not an idiot. This is a staged shot, the saw is not on. | Glueing the extra pieces on. MDF is really easy to glue to. |
|
|
|
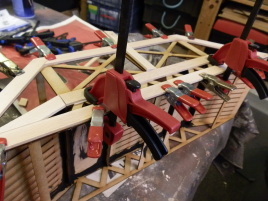
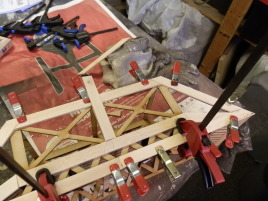
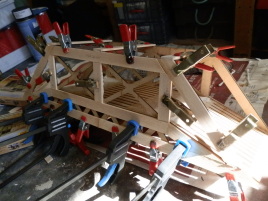
| A couple of clamps to hold stuff on. | Working on the final few pieces. | This side is done. |
|

|
|
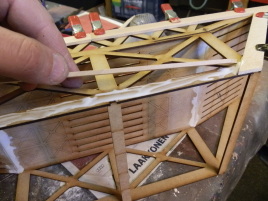
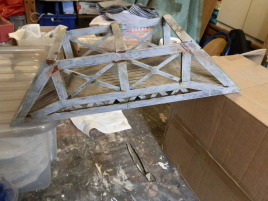
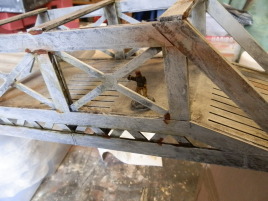
| And doing the same on the other side. I cut two sets of parts in one go so this is just glueing them on. | Not forgetting the underside. | Adding the top supports. These are actually pretty important, because there is high likelyhood someone will grab these to lift the whole thing up... I'll add corner irons later if this isn't sturdy enough. |

|

|
|
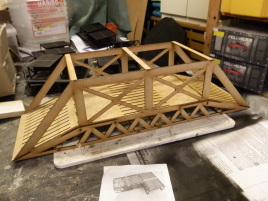
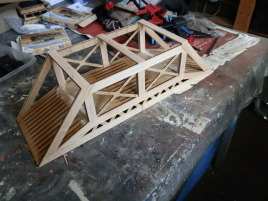
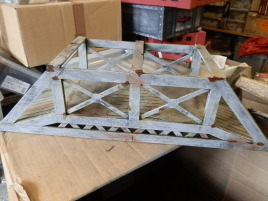
| I decided to add some interior support too. Not really needed from strength, but it helps make the interior not so flat. | View from the user perspective. | Basic assembly done. |

|
|
|
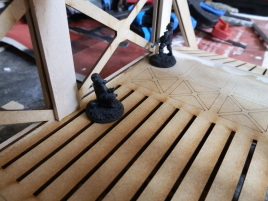
| That's a 15mm truck to show scale. This would be a major highway bridge in 15mm. | A couple of 28mm figures to show scale. It's a big bridge even in 28mm... You can probably drive a tank over this. |
MDF sucks paint like a sponge. I thought about different color schemes but I ended up with light gray in the end. This may not have been the best choice but I can live with it.
I simply primed the bridge with a matte black spray and then used another spray for light gray. It was supposed to be satin finish but it came out a little more shiny than I would have liked. Keeping the spray relatively light I tried to avoid to nooks and crannies leaving a little bit of black showing through as shading. Even with my additions the bridge still has tons of flat surfaces making shading slightly challenging. I spruced it up a little with a liberal drybrush of lighter gray.
As the end result looked a bit bland (and very gray), I decided to grime it up a bit and liberally applied different weathering powders and some of ModelMates' excellent rust effect.
After a whiff of varnish to seal it all, the bridge was finished. Now, where could I use one... or three?
|
|
|
| Priming done. | Basic gray color. | Base color applied, now let's liven it up with some weathering... |
|
|
|
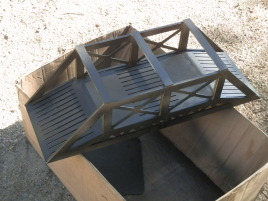
| Here's the finished bridge. Maybe I should have gone for a darker tone... | Unlike most gaming bridges, this one can actually bridge gaps. | Here's a figure for size comparison. |
This was a fun project to do, even though the additional bits did increase build time somewhat. I think I spent maybe half a day total doing the kit.

This work is licensed under a Creative Commons Attribution-NonCommercial-NoDerivs 2.5 License.
Copyright 2003-2021 Mikko Kurki-Suonio
 Sucks!