 One man's trash is another man's terrain.
One man's trash is another man's terrain.
One of the things I like best about building terrain is turning something about to be discarded into something useful and valuable. Waste not, want not, as our predecessors might have said and what is sadly often forgotten in today's disposable culture.
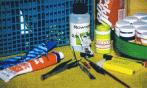
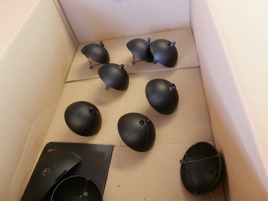
These aren't trash exactly, but they were headed that way in short order. I spotted a bunch of space station toys at the local discount store. Apparently the toy line had failed and perhaps even the manufacturer had gone bust. It seemed very much like the discount store had bought the remaining stock from a bankruptcy sale for next to nothing and now they were selling them off at -90% off.
Yes, 90% discount. When I saw that the only real concerns were:
Due to these concerns I successfully resisted the temptation to simply buy all the remaining stock. I settled for a biggish pile and went home with them.
Upon closer inspection it was immediately apparent that these were actually rather high quality toys. They were constructed of hard plastic that would paint readily. They had molded on details rather than cheap stickers. In addition they were assembled mostly with screws instead of glue, which would make disassembly relatively easy.
|

|
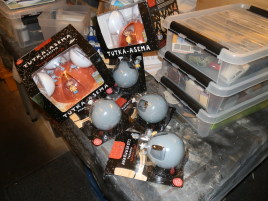
| Ok, I didn't even finish the previous batch before buying more of them. | I think I will make some drop pods from this batch. |
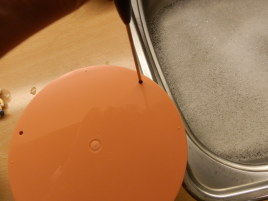
Therefore I decided to disassemble them for painting rather than trying to mask the windows. It would also make painting the interiors much simpler.
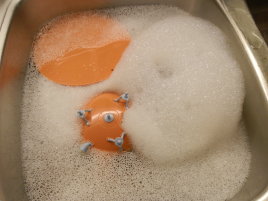
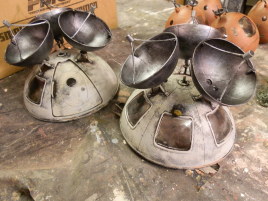
Disassembly was easy, just unscrew a few screws and everything came apart nicely. The only real problem points were the windows on the radar station. They were snapfits, and the clear plastic was so rigid as it often is that they were not going to come off intact. So I simply snipped off the tabs figuring I'd glue them back on. Then it was off to wash off any unsavory residue.
|
|
|
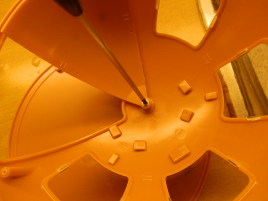
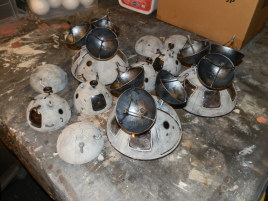
| First we dismantle the domes. Luckily they are put together with normal screws. | Even the door is just screwed on. | Then it's bath time. |
|
||
| I removed the clear plastic parts for painting. I thought about masking them, but in the end complete removal was easier even for the glued in parts. |
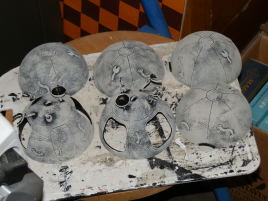
I started the painting with a simple black spray undercoat. The surface of the plastic was pretty smooth but I didn't want to destroy the molded on details with sandpaper. So instead I decided to try out a new technique. I took some spare foam from blister packs, dipped that in paint, wiped most off and started dabbing color onto the parts.
|
|
|
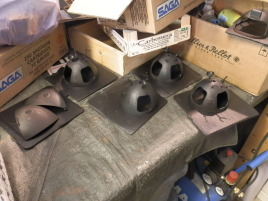
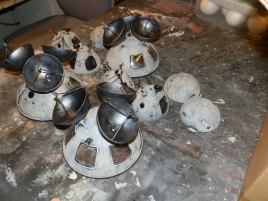
| I bought these for a song. I disassembled them for painting. | The plastic takes primer quite nicely. | Radar dishes primed. |
|
|
|
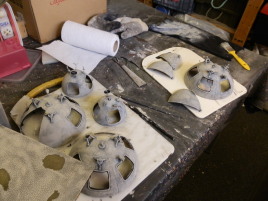
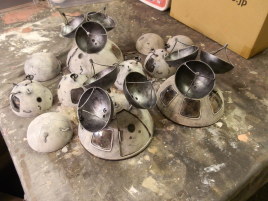
| The space homes provide parts for two buildings. | Base colors applied. | I dismantled the toys and painted the pieces separately. This was pretty easy as they were not glued. |
|
|
|
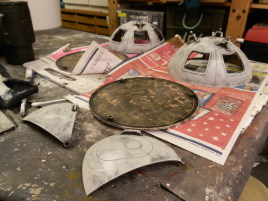
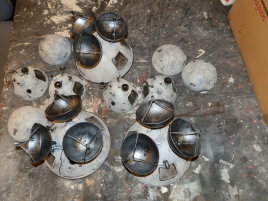
| Initial base colors done. | I used a piece of foam to apply the paint. | Getting ready to varnish. |
|
||
| Radar domes waiting to be installed. |
First I dabbed on a darker color and then another lighter color on top of it more lightly applied. I really wanted to avoid a monochrome gray look and intentionally used a couple of different colors. It took a bit of practice to get this procedure down. You don't want too much paint on the foam, otherwise you lose the foam texture effect. On the other hand, these are pretty large pieces and doing very small dabs was going to take way too long. Finally I ended up holding the foam by one end and literally slapping it against the pieces.
The black/silver radar dishes were a more traditional drybrush job. Then it was just a question of picking off the molded on details, varnishing everything and reassembly.
Reassembly was also pretty easy, as soon as I figured where I had stored all the tiny screws. I superglued the windows back on, which caused some of them to fog. I can live with that.
As I had decided to split the egg-shaped space homes into two pieces, I simply superglued black card as floor for the halves with the windows.
|
|
|
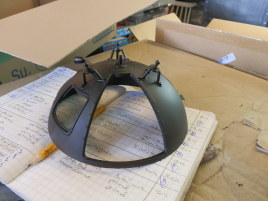
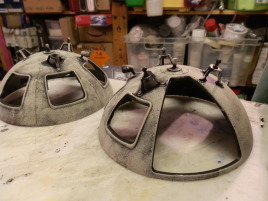
| These were pretty easy to do. And the doors on the big domes even open. | The smaller domes are actually halves of an egg-shaped 'space home'. | Here are the new moondomes, constructed out of some toys I bought for 90% off. |
|
|
|
| The color scheme should match my other moonbase stuff. | More moondomes. |
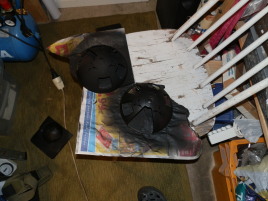
After I had finished off the initial batch, I made another. This time I deciced to use the space homes as landing pods and painted them slightly differently.
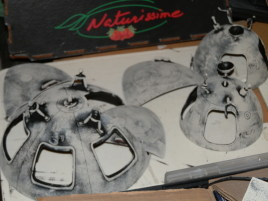
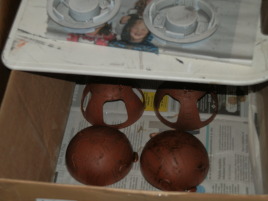
I started off with a reddish "anti-rust" spray undercoat. This is a really nice timesaver, as it gives a nice base color and has absolutely flat matt finish. Then I simply washed the pods with watered down sepia ink and gave them a light drybrush in gray.
|

|
|
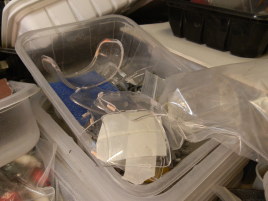
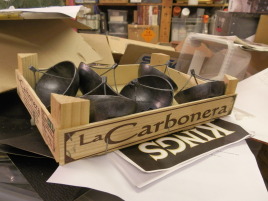
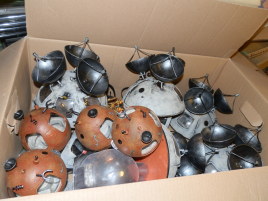
| Landing pod parts drying after wash. | The finished landing pods. You can still open them and put figures inside. | And here's everything in storage. I need to find a better box for them. |
Unfortunately by this time the store had managed to get rid of all the remaining stock, otherwise I probably would have bought some more...

This work is licensed under a Creative Commons Attribution-NonCommercial-NoDerivs 2.5 License.
Copyright 2003-2021 Mikko Kurki-Suonio
 Sucks!